Grandmother’s Pie Crust Recipe: A Flaky and Buttery Classic
Pie lovers, get ready to discover the perfect homemade pie crust—a family recipe passed down through generations! This Grandmother’s Pie Crust Recipe is the ultimate foundation for flaky, buttery, and perfectly crisp pies. Whether you’re baking a classic apple pie, a savory quiche, or a sweet berry tart, this crust will provide the ideal texture and flavor to complement any filling.
What makes this recipe extra special? A secret ingredient—a touch of cream of tartar, just like Grandma used! This simple yet foolproof recipe will give you tender, flaky results every time. Even if you’ve struggled with homemade pie crusts in the past, this step-by-step guide will ensure success. Let’s get started!
Introduction
There’s something incredibly nostalgic about the aroma of a freshly baked homemade pie filling the kitchen. From Thanksgiving desserts to Sunday family gatherings, a perfect pie crust is the heart of every delicious pie.
Unlike store-bought options, this scratch-made crust delivers a rich, buttery taste with a delicate flakiness that melts in your mouth. The combination of Crisco, vinegar, and very cold water ensures a crust that is tender yet sturdy, making it easy to roll out and shape.
Whether you’re making a double-crust pie, a lattice-top creation, or a savory dish, this versatile pie dough will be your new go-to. Let’s dive into Grandma’s tried-and-true method for achieving pie perfection!
Ingredients
To prepare this classic homemade pie crust, you’ll need the following:
Essential Ingredients
- 3 cups all-purpose flour
- 1/4 teaspoon cream of tartar (Grandma’s secret ingredient!)
- 1 teaspoon salt
- 1 1/2 cups Crisco (or high-quality vegetable shortening)
- 4 to 8 tablespoons very cold water
- 1 well-beaten egg
- 1 tablespoon vinegar (helps create a tender, flaky texture)
How to Make Grandmother’s Pie Crust
1. Prepare Your Ingredients
For the best pie crust, make sure all your ingredients are cold. This helps create that flaky texture.
- Measure your flour, salt, and cream of tartar into a large mixing bowl.
- Chill your Crisco and water in the fridge before using.
2. Mix the Dry Ingredients
In a large bowl, whisk together the flour, salt, and cream of tartar. This step ensures even distribution and helps create a light, delicate crust.
3. Cut in the Crisco
Add the chilled Crisco to the flour mixture. Using a pastry cutter, two forks, or your fingers, cut the Crisco into the flour until the mixture resembles coarse crumbs. The pieces should be pea-sized—this is the key to a flaky crust.
4. Add the Wet Ingredients
In a small bowl, whisk together the well-beaten egg, vinegar, and 4 tablespoons of cold water. Gradually add this to the flour mixture, stirring gently with a fork. Add one tablespoon of water at a time, just until the dough begins to come together. Avoid overmixing, as this can make the crust tough.
5. Form the Dough
Once the dough starts to hold together, gather it into a ball. If it’s too dry, add a little more cold water, a teaspoon at a time. Divide the dough into two equal portions, flatten into discs, and wrap each in plastic wrap. Refrigerate for at least 30 minutes, or up to 24 hours.
6. Roll Out the Dough
- Lightly flour a clean surface and rolling pin.
- Take one dough disc out of the fridge and roll it from the center outward, turning it occasionally to prevent sticking.
- Roll to about 1/8-inch thickness and 2 inches larger than your pie pan.
7. Transfer to Pie Pan
Carefully lift the rolled-out dough and place it into a 9-inch pie plate. Gently press it into the bottom and sides of the pan, ensuring a smooth, even layer.
8. Trim and Shape the Edges
Use a sharp knife or kitchen scissors to trim excess dough, leaving about 1/2 inch overhang. Fold the edges under and crimp them using your fingers or a fork for a decorative touch.
9. Fill and Bake
Now, your crust is ready for filling! Depending on your recipe, you can:
- Pre-bake it for cream pies
- Fill it with fruit or custard and bake as directed
Helpful Tips for Perfect Pie Crust
- Keep Everything Cold: Cold ingredients = flakier crust. Chill your Crisco, water, and even your mixing bowl for best results.
- Use Gentle Hands: Overworking the dough can make it tough instead of tender. Mix just until it comes together.
- Let it Rest: Refrigerating the dough relaxes the gluten, making it easier to roll out.
- Handle with Care: When rolling out, use light, even pressure to avoid stretching the dough.
Cooking Tips
- For Extra Flavor: Substitute half of the Crisco with unsalted butter for a buttery taste.
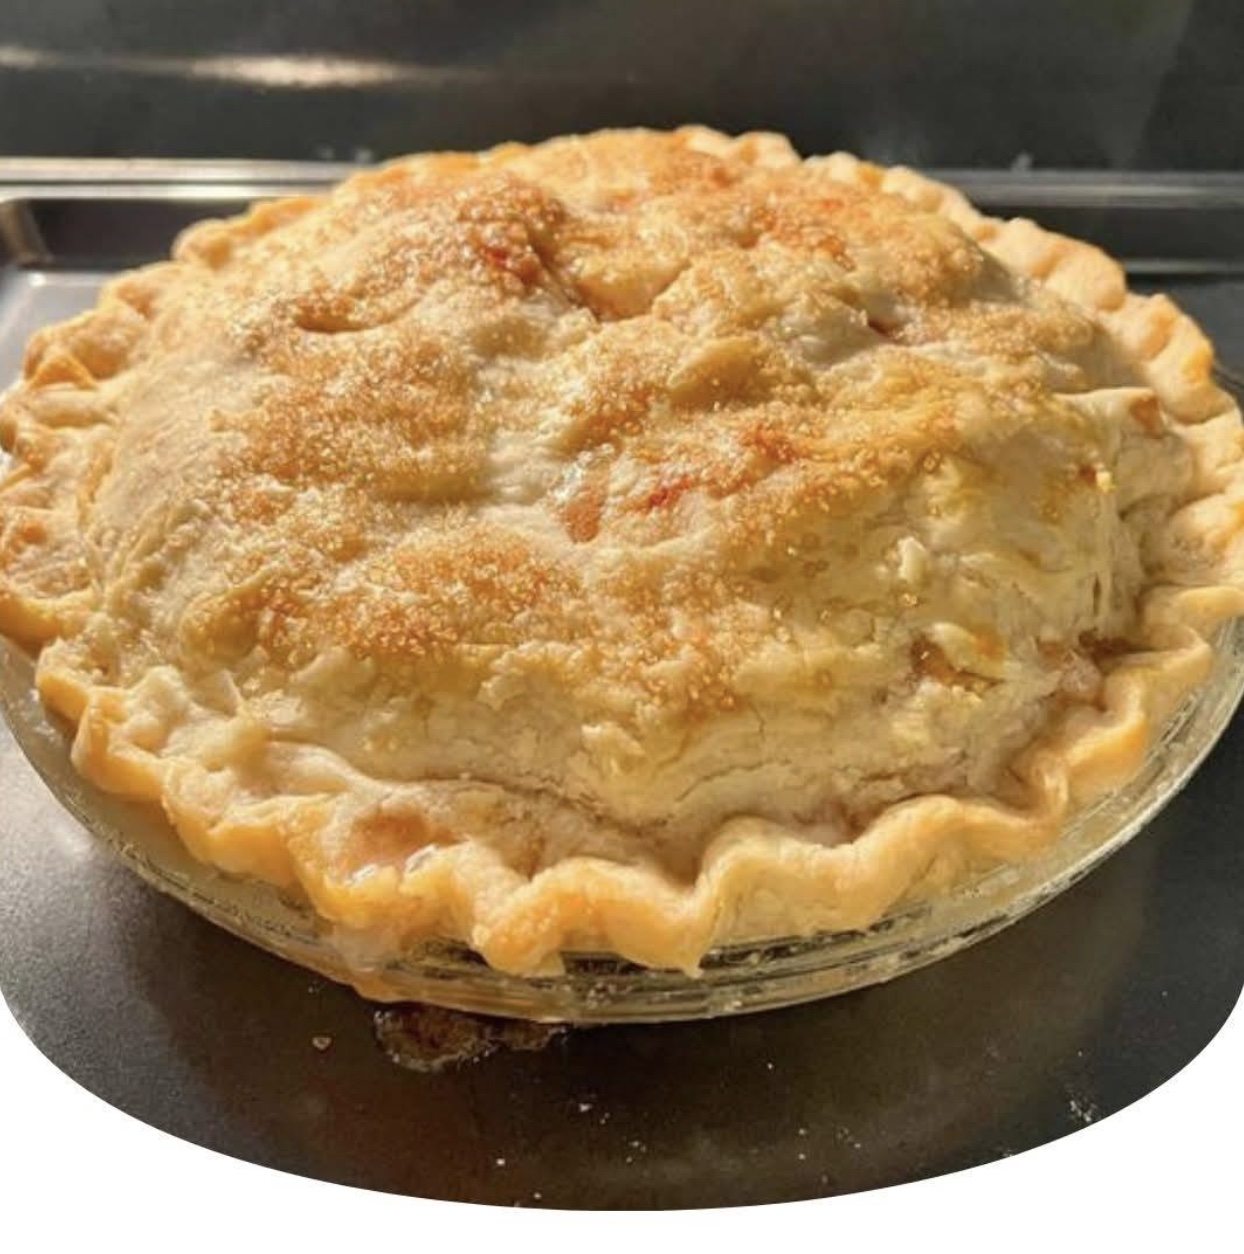
- Golden Brown Finish: Brush the top crust with an egg wash (1 beaten egg + 1 tablespoon water) before baking.
- Prevent Soggy Bottoms: Sprinkle a little flour or breadcrumbs on the bottom crust before adding juicy fillings.
- Make It Gluten-Free: Use a gluten-free flour blend for a celiac-friendly version.
Serving Suggestions
This flaky pie crust is perfect for:
- Classic Apple Pie – Serve warm with vanilla ice cream.
- Pumpkin Pie – A Thanksgiving favorite with whipped cream.
- Savory Quiches – Great for breakfast or brunch.
- Berry Tarts – Fresh, fruity, and delicious.
Nutritional Information
Per serving (1 slice of pie crust):
- Calories: 180
- Carbohydrates: 14g
- Protein: 2g
- Fat: 12g
- Saturated Fat: 3g
- Sodium: 150mg
- Fiber: 1g
- Sugar: 1g
Storage & Leftovers
- Refrigerate: Wrap unbaked dough in plastic wrap and store for up to 3 days.
- Freeze: Pie dough freezes well for up to 3 months. Thaw in the fridge overnight before rolling out.
- Leftover Baked Crust: Store at room temperature for 1-2 days or refrigerate for longer freshness.
Frequently Asked Questions (FAQs)
Can I use butter instead of Crisco?
Yes! You can substitute half or all of the Crisco with butter for a different flavor.
Why add vinegar?
Vinegar helps tenderize the dough, preventing it from getting tough.
How do I prevent my crust from shrinking?
Chill the crust before baking and avoid stretching it when placing it in the pan.
Related Recipes You’ll Love
If you love homemade baking, check out these recipes:
- Teriyaki Salmon Bowls with Crispy Brussels Sprouts
- Crispy Fish Batter Recipe
- Copycat Olive Garden Chicken Gnocchi Soup
- Oyster Stew – A Classic Comfort Dish
Conclusion
There you have it—Grandmother’s Pie Crust Recipe, a timeless classic that guarantees flaky, tender, and delicious results. Whether you’re a seasoned baker or trying pie-making for the first time, this easy-to-follow recipe will help you create perfect pies every time. Try it today and bring a taste of homemade nostalgia to your table! 🍏🥧