❄️🌲 Baking Soda Growing Trees Village – A Magical Winter Science Craft That Grows Before Your Eyes
Creating a Baking Soda Growing Trees Village is one of the most enchanting and visually stunning science crafts you can make at home. Using nothing more than baking soda, hot water, and a few simple materials, you can grow sparkling white crystals that look like snow, frost, or delicate ice coating every surface of a miniature winter village. This hands-on project is perfect for children, families, teachers, crafters, and anyone who enjoys creative activities that combine science with art.
What makes this experiment especially magical is the slow, beautiful transformation that happens naturally as the solution evaporates. Over several hours, the water disappears, leaving behind soft, snowy clusters of baking soda crystals that cling to pipe cleaner trees, sponges, twigs, and miniature decorations. Watching this process unfold offers the same peaceful satisfaction found in structured, mindful activities like Mounjaro Recipes, where simple steps, patience, and gradual development lead to a rewarding final result.
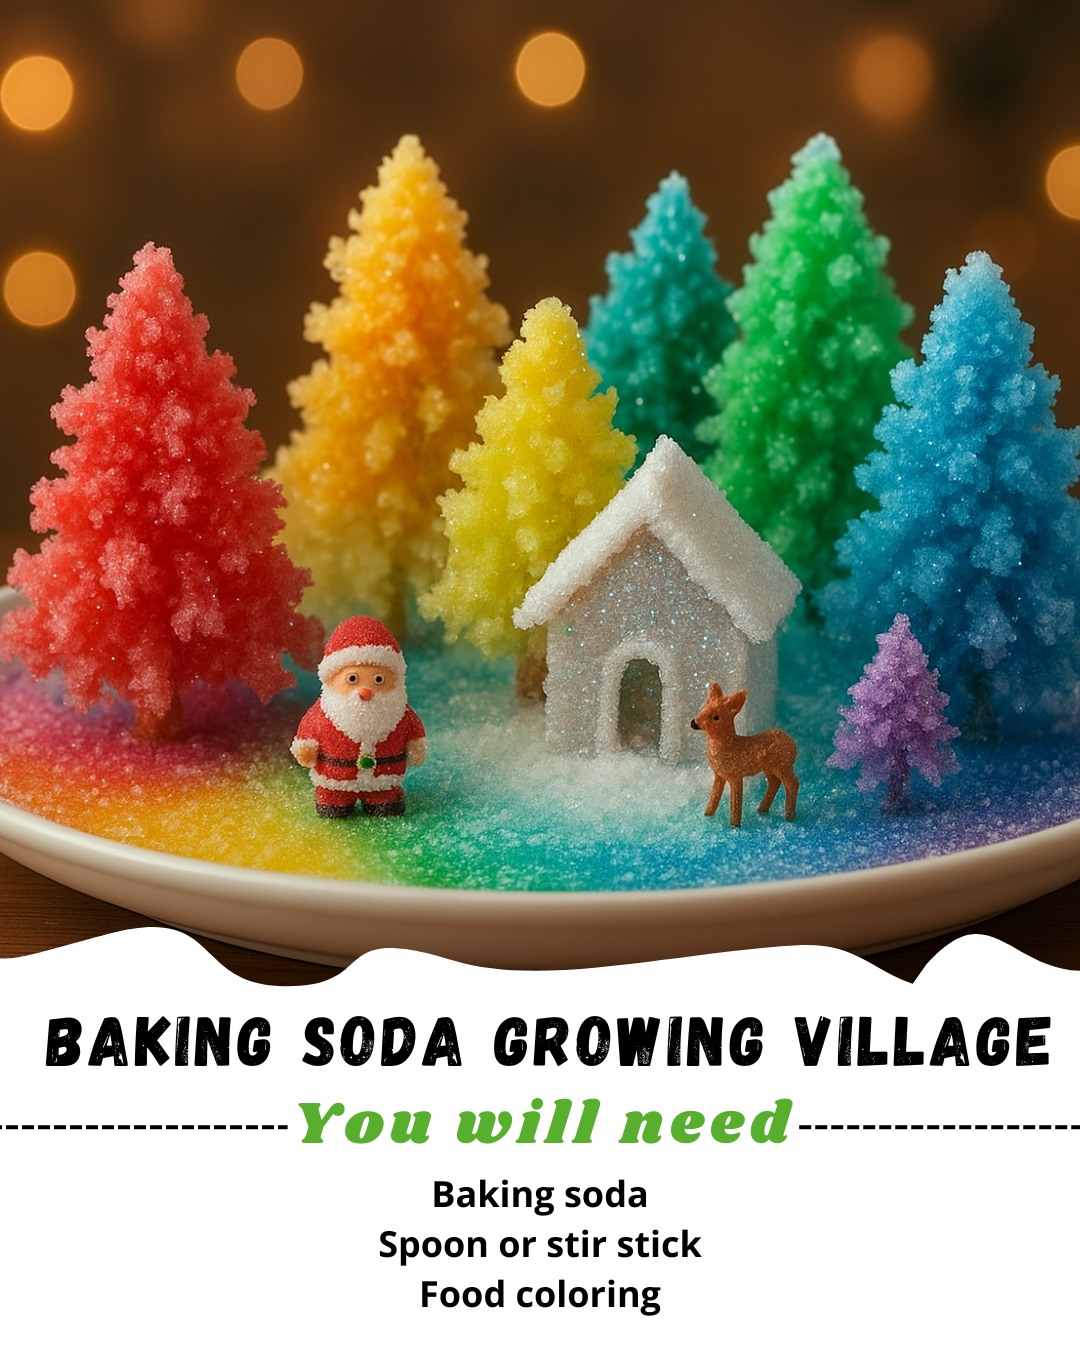
⭐ What You Will Need
Baking soda (sodium bicarbonate)
Very hot water
Shallow tray, plate, or baking dish
Spoon or stir stick
Food coloring (optional for rainbow crystals)
“Trees” for crystal growth:
Pipe cleaner trees
Sponge trees
Twigs or branches
Cardboard or paper trees
Mini toy trees
Optional decorations: glitter, snow confetti, beads, tiny houses, Christmas village pieces
⭐ Step-by-Step Instructions for Creating a Crystal Village
1. Prepare Your Village Base
Begin by arranging your trees inside a shallow tray or plate. You can design your layout however you like:
A clustered crystal forest
A full winter village scene
A single large tree surrounded by smaller ones
A rainbow-themed village where each tree becomes a different color
Make sure each tree stands firmly and touches the bottom of the tray. This is essential because the saturated solution must touch the base of every tree so the crystals can “wick” upward during evaporation.
2. Mix a Saturated Baking Soda Solution
To grow crystals, you must create a supersaturated solution—meaning the water contains more dissolved baking soda than it can hold long-term.
Formula:
1 cup hot water
½–¾ cup baking soda
Steps:
Pour 1 cup of very hot water into a heat-proof cup or bowl.
Add ½ cup baking soda and stir constantly.
Continue adding small spoonfuls of baking soda until crystals stop dissolving.
When you see undissolved baking soda settling at the bottom, the solution is saturated.
If you want a rainbow crystal village, divide the mixture into several cups and add different food coloring shades. This creates beautifully tinted crystals.
3. Pour the Solution Into Your Village Tray
Gently pour the clear portion of the saturated baking soda solution into your tray. Aim for a shallow depth—about ¼ to ½ inch of liquid.
For multi-color crystal growth:
Pour different tinted solutions around individual trees
Create stripes, patches, or swirling color zones
Avoid stirring or mixing after pouring; keeping the colors separate makes the final scene even more vibrant.
4. Let the Crystals Grow
Place your tray somewhere it will remain undisturbed. This is the stage where the magic unfolds. As the water evaporates, baking soda molecules bond together and climb up the surfaces of your trees and decorations.
What you’ll see as hours pass:
Crystals forming on branches
Shimmering frost spreading across sponges or pipe cleaners
Color slowly rising and blending into the crystal growth
New patterns appearing each time you check
Growth Timeline:
First crystals: 2–4 hours
Full snowy coverage: 8–12 hours
Thick crystal forest: Overnight or up to 24 hours
Much like the slow, rewarding nature of Mounjaro Recipes, the beauty of this project comes from watching small changes develop into something stunning. The experience encourages patience, curiosity, and mindful observation — perfect for both kids and adults.
5. Complete Your Crystal Village
Once the water has evaporated, your trees and landscape will look like a frosty winter wonderland. You can gently remove individual trees or keep everything inside the tray as a scenic display.
To enhance your winter village, add:
Glitter “snow”
Tiny houses and cottages
Miniature animals or snowmen
Bottle-brush trees
LED fairy lights for a glowing night-time effect
Your crystal village can become a beautiful holiday centerpiece, a fun classroom project, or a calming creative activity to enjoy at home.
⭐ The Science Behind the Magic
This experiment teaches essential scientific concepts:
Saturation – Water dissolves baking soda until it reaches its maximum capacity
Evaporation – Water slowly disappears, leaving dissolved minerals behind
Crystallization – Baking soda particles bond together into visible crystals
It’s a wonderful reminder, much like Mounjaro Recipes, that slow, step-by-step processes can produce incredible results when given time and patience.
⭐ Tips for the Best Crystal Growth
Use very hot water for maximum saturation
Leave the tray untouched while water evaporates
Try different tree materials to compare crystal patterns
Let the village grow overnight for thicker, fuller crystals
Experiment with multiple colors for a rainbow forest
⭐ Final Thoughts
A Baking Soda Growing Trees Village is a magical blend of science and creativity. It’s easy to set up, visually stunning, educational, and deeply satisfying to watch develop. Whether you’re making a holiday decoration, a hands-on STEM project, or a mindful crafting activity alongside exploring Mounjaro Recipes, this project brings joy, wonder, and a sense of calm to the process.
It reminds us that beautiful things grow slowly — one crystal at a time.