Hello, sweet treat lovers! Are you ready to make a simple yet indulgent dessert that will delight your taste buds? These Peanut Butter Balls are a classic no-bake confection perfect for parties, holidays, or just when you’re craving something sweet and satisfying. With just a few ingredients and easy steps, this recipe is as fun to make as it is to eat. Let’s get started!
Introduction
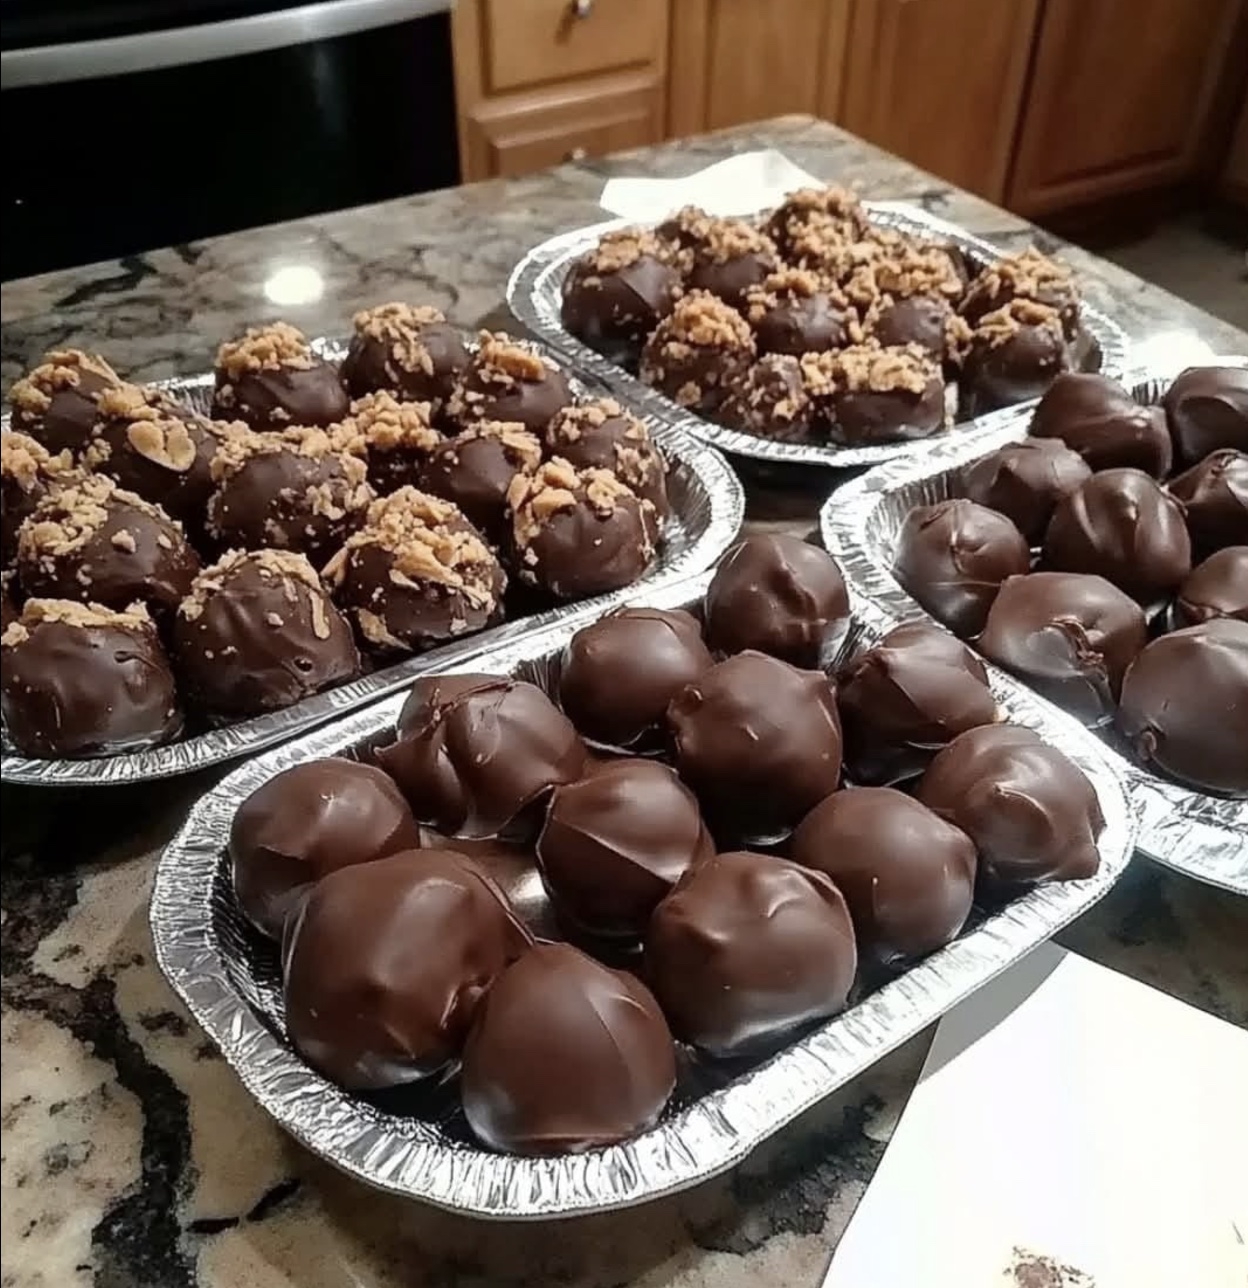
Peanut Butter Balls are a beloved dessert that combines the rich creaminess of peanut butter with a sweet chocolate coating. This classic treat is often associated with holidays like Christmas, but it’s perfect for any time of year. Whether you’re a chocolate lover or a peanut butter fanatic, this recipe offers the best of both worlds. The best part? You don’t need to be a professional baker to whip up a batch of these delightful bites.
This recipe is not only versatile but also budget-friendly, using pantry staples like powdered sugar and peanut butter. It’s a dessert that brings joy to kids and adults alike, making it a go-to option for family gatherings, school treats, or even a quick indulgence at home.
Ingredients
Here’s what you’ll need to make Peanut Butter Balls:
- 2 cups powdered sugar
- 1 cup peanut butter
- 6 tablespoons butter, melted
- 1 teaspoon vanilla extract
- Dipping chocolate of your choice
These simple ingredients come together to create a sweet, creamy filling that pairs beautifully with the rich chocolate coating. Feel free to use milk, dark, or white chocolate based on your preference.
How to Make Peanut Butter Balls
Follow these step-by-step instructions to create your own batch of delicious Peanut Butter Balls:
- Prepare the Base: In a large mixing bowl, combine the melted butter and vanilla extract. Add the peanut butter and stir until the mixture is well combined and smooth.
- Incorporate the Sugar: Gradually add the powdered sugar to the peanut butter mixture. Stir continuously until a thick, dough-like consistency forms. This will be the base for your peanut butter balls.
- Shape the Balls: Using your hands or a small scoop, roll the mixture into small, even-sized balls. Place them on a baking sheet lined with parchment paper.
- Freeze to Firm: Transfer the baking sheet to the freezer and let the peanut butter balls chill for about 30 minutes. This step is crucial to ensure the balls maintain their shape during the dipping process.
- Melt the Chocolate: While the balls are chilling, melt your choice of dipping chocolate. You can use a double boiler or microwave in short bursts, stirring in between to prevent burning.
- Dip the Balls: Remove the peanut butter balls from the freezer. Using a fork or dipping tool, dip each ball into the melted chocolate, ensuring it’s fully coated. Let the excess chocolate drip off before placing the ball back on the parchment-lined baking sheet.
- Set the Coating: Allow the chocolate coating to set completely. You can speed up this process by placing the sheet in the refrigerator for 15-20 minutes.
- Serve and Enjoy: Once the chocolate is firm, your Peanut Butter Balls are ready to be enjoyed. Store them in an airtight container at room temperature or in the fridge for longer freshness.
Tips for Perfect Peanut Butter Balls
- Choose the Right Peanut Butter: For the best texture, use creamy peanut butter. If you prefer a chunkier texture, crunchy peanut butter works too, but it may alter the smoothness of the filling.
- Room-Temperature Ingredients: Make sure your butter is melted but not hot, and your peanut butter is at room temperature for easier mixing.
- Adjust Sweetness: If you prefer less sweetness, reduce the powdered sugar slightly. Just ensure the mixture is firm enough to roll into balls.
- Decorative Touches: After dipping, sprinkle the tops of the chocolate-coated balls with crushed peanuts, sea salt, or festive sprinkles for added flair.
Serving Suggestions
These Peanut Butter Balls are perfect on their own but can also be served as part of a dessert platter alongside cookies, truffles, and brownies. For a creative twist, serve them on a stick as peanut butter lollipops. Pair them with a hot cup of coffee, a glass of milk, or even a scoop of vanilla ice cream for a truly decadent experience.
Nutritional Information
Here’s a look at the approximate nutritional breakdown for these Peanut Butter Balls:
- Calories: 140 per ball
- Carbohydrates: 15g
- Protein: 3g
- Fat: 8g
- Saturated Fat: 4g
- Sugar: 13g
- Fiber: 1g
- Sodium: 40mg
Storage and Leftovers
To keep your Peanut Butter Balls fresh and delicious:
- Refrigeration: Store in an airtight container in the refrigerator for up to 2 weeks.
- Freezing: For longer storage, freeze the balls in a sealed container for up to 3 months. Thaw at room temperature before serving.
Frequently Asked Questions (FAQs)
Can I use natural peanut butter? Yes, but it may affect the texture. Natural peanut butter tends to separate, so you’ll need to mix it thoroughly before using.
What if the dough is too sticky to roll? Add a bit more powdered sugar until the mixture firms up enough to handle.
Can I make these dairy-free? Substitute the butter with a dairy-free alternative and ensure your dipping chocolate is also dairy-free.
How do I prevent the chocolate from cracking? Allow the peanut butter balls to come to room temperature slightly before dipping to minimize temperature shock.
Related Recipes
If you loved making these Peanut Butter Balls, you might enjoy these other easy-to-make sweet treats:
- Chocolate-Dipped Pretzels
- No-Bake Oatmeal Cookies
- Chocolate Peanut Butter Fudge
- Homemade Chocolate Truffles
Conclusion
And there you have it—an easy and delightful recipe for Peanut Butter Balls that’s perfect for any occasion. With their creamy peanut butter center and rich chocolate coating, these treats are guaranteed to impress your family and friends. Whether you’re making them for a holiday celebration or a quick dessert fix, this recipe is sure to become a favorite. Try it out, and don’t forget to share your creations with us. Happy cooking and even happier snacking!