Hello, holiday bakers! The festive season is here, and what better way to celebrate than with delightful Red Velvet Christmas Tree Cookies? These cookies are not only delicious but also stunningly beautiful, making them the perfect centerpiece for your holiday celebrations. Whether you’re baking for family gatherings, gifting, or simply spreading holiday cheer, these cookies are sure to impress.
Introduction
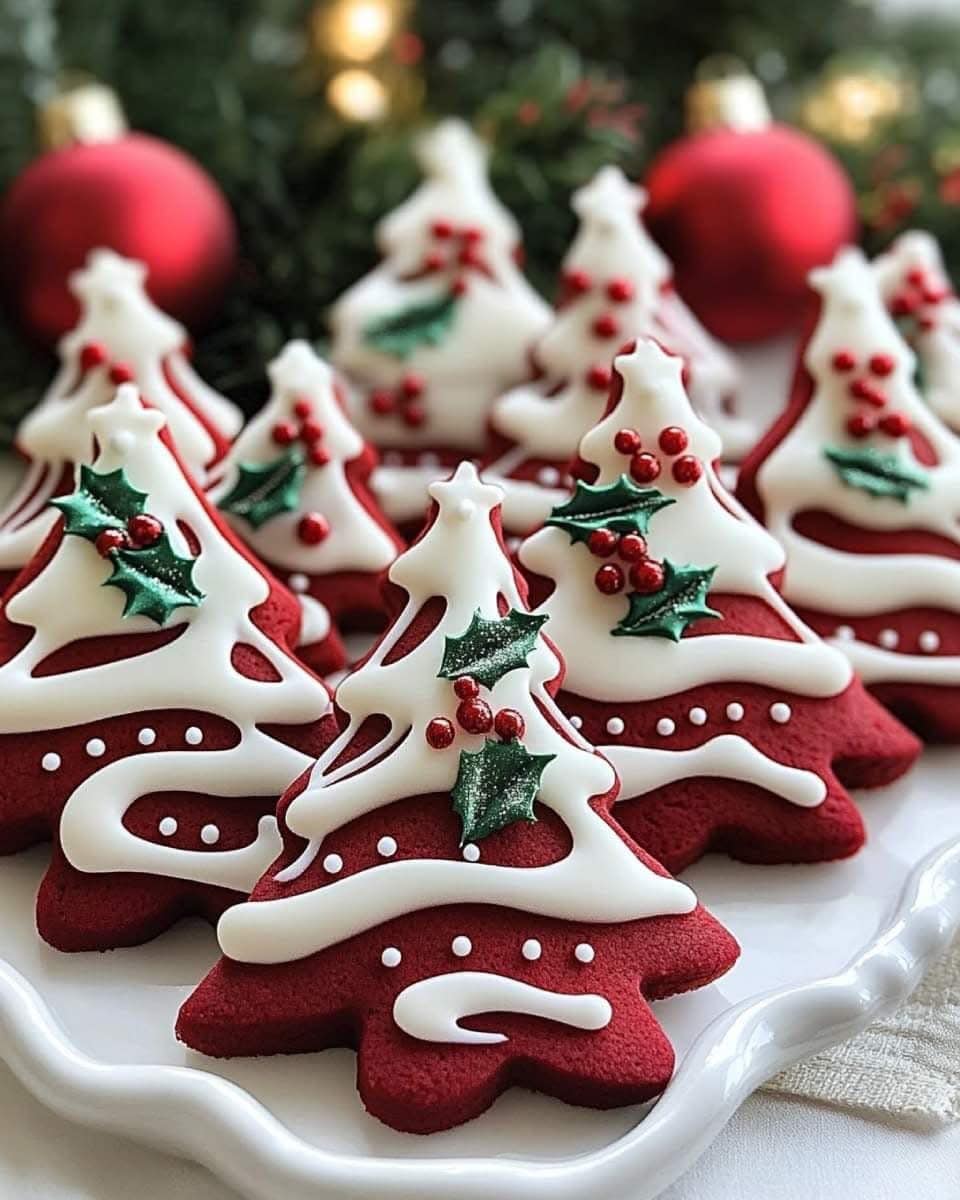
The holidays are a magical time, filled with joy, laughter, and of course, baking! These Red Velvet Christmas Tree Cookies bring together the classic flavors of red velvet cake in a fun and creative cookie form. With their vibrant color, soft texture, and decorative royal icing, they’re a treat for both the eyes and the taste buds. Let’s dive into this recipe and make your holiday season even more special.
Ingredients
For the Cookies:
- 2 1/4 cups all-purpose flour
- 2 tbsp unsweetened cocoa powder
- 1 tsp baking powder
- 1/2 tsp baking soda
- 1/4 tsp salt
- 1/2 cup unsalted butter, softened
- 3/4 cup granulated sugar
- 1/4 cup brown sugar
- 1 large egg
- 1 tsp vanilla extract
- 1 tbsp red food coloring
- 1/3 cup buttermilk
For the Royal Icing:
- 3 cups powdered sugar
- 2 tbsp meringue powder
- 4–5 tbsp water (adjust as needed)
- Gel food coloring (white, green, and red)
For Decoration:
- Edible holly leaves and berries
- Edible glitter or shimmer dust
How to Make Red Velvet Christmas Tree Cookies
1️⃣ Prepare the Cookie Dough
In a medium bowl, whisk together the flour, cocoa powder, baking powder, baking soda, and salt. In a large bowl, beat the softened butter, granulated sugar, and brown sugar until light and fluffy. Mix in the egg, vanilla extract, and red food coloring until well combined. Gradually add the dry ingredients, alternating with buttermilk, until a soft dough forms.
2️⃣ Chill and Cut Out Cookies
Divide the dough into two halves, wrap each half in plastic wrap, and refrigerate for 1–2 hours. This step is essential for easy rolling and cutting. Preheat your oven to 350°F (175°C) and line baking sheets with parchment paper. Roll out the chilled dough on a floured surface to about 1/4-inch thickness. Use a Christmas tree cookie cutter to cut out shapes and place them on the prepared baking sheets.
3️⃣ Bake the Cookies
Bake the cookies for 10–12 minutes, or until the edges are set. Let them cool on the baking sheets for 5 minutes before transferring them to a wire rack to cool completely. Cooling is crucial to ensure the icing adheres perfectly.
4️⃣ Decorate with Royal Icing
In a mixing bowl, combine powdered sugar, meringue powder, and water. Beat until the icing is smooth and holds stiff peaks. Adjust the consistency with additional water if necessary. Divide and color the icing as desired using gel food coloring. Transfer the icing to piping bags with small tips for precise decorating. Use white icing to create garlands, green icing for holly leaves, and red icing dots for berries.
5️⃣ Add Finishing Touches
Sprinkle edible glitter or shimmer dust over the cookies for a magical holiday sparkle. Add edible holly leaves and berries for extra festive flair. Let the icing set completely before serving or packaging.
Helpful Tips
- Chill the Dough: Chilling the dough is essential to prevent spreading during baking, ensuring your cookies maintain their shape.
- Work Quickly: Roll and cut the dough while it’s cold to make handling easier and maintain clean edges on your cookies.
- Perfect Icing Consistency: The royal icing should be thick enough to hold its shape but smooth enough to pipe easily. Add water gradually to achieve the right consistency.
- Creative Decorations: Don’t limit yourself to traditional designs. Try adding tiny stars, candy canes, or even personalized messages to your cookies.
Cooking Tips
- Even Baking: Bake cookies on the middle rack of your oven for even heat distribution. Rotate the baking sheet halfway through for consistent results.
- Prevent Sticking: Dust your rolling pin and surface with flour to prevent the dough from sticking while rolling.
- Storage Tip: Store decorated cookies in a single layer in an airtight container to protect the icing.
Serving Suggestions
Serve these cookies as part of a holiday dessert platter alongside hot cocoa, eggnog, or spiced apple cider. They also make excellent edible gifts. Wrap them in clear cellophane bags tied with festive ribbons for a charming presentation.
Nutritional Information
Here’s a quick breakdown of the nutritional content per cookie (based on 24 servings):
- Calories: 150
- Carbohydrates: 22g
- Protein: 2g
- Fat: 6g
- Saturated Fat: 3g
- Cholesterol: 20mg
- Sodium: 75mg
- Sugar: 14g
- Fiber: 1g
- Vitamin A: 2%
- Calcium: 1%
- Iron: 3%
Storage and Leftovers
Refrigerate: Store undecorated cookies in an airtight container at room temperature for up to 5 days. Decorated cookies should be stored in a single layer to avoid smudging the icing.
Freeze: Freeze undecorated cookies for up to 3 months. Thaw them at room temperature before decorating.
Gift-Worthy: Decorated cookies are a fantastic option for gifting. Package them carefully to maintain their festive design.
Frequently Asked Questions (FAQs)
Can I use natural food coloring?
Yes, natural food colorings made from beet juice or pomegranate juice can be used, but the color may be less vibrant.
What can I substitute for buttermilk?
If you don’t have buttermilk, mix 1/3 cup of milk with 1 teaspoon of vinegar or lemon juice and let it sit for 5 minutes.
Can I make these cookies gluten-free?
Yes, substitute the all-purpose flour with a gluten-free flour blend designed for baking. Ensure the other ingredients are gluten-free as well.
How long does the royal icing take to set?
Royal icing typically takes 4–6 hours to fully set, depending on the humidity in your kitchen.
Related Recipes
If you love festive baking, try these recipes:
- Snowflake Sugar Cookies
- Peppermint Chocolate Crinkle Cookies
- Gingerbread Man Cookies
- Christmas Almond Biscotti
Conclusion
Red Velvet Christmas Tree Cookies bring the perfect mix of festive charm and deliciousness to your holiday baking. Their soft, flavorful base and intricate decorations make them a standout treat for any occasion. Whether you’re sharing them with loved ones or keeping them all for yourself, these cookies are sure to spread holiday cheer. Get creative, have fun decorating, and enjoy every bite of these delightful cookies!