Pepperoni Pizza Bombs Recipe: Irresistible Cheesy Bites
Pizza lovers, rejoice! If you’re looking for a quick and delicious snack, these Pepperoni Pizza Bombs are the ultimate choice. Packed with gooey mozzarella, zesty pepperoni, and your favorite pizza flavors, these little bites are perfect for parties, game days, or even an indulgent family treat. Let’s dive into this mouthwatering recipe and learn how to make these cheesy, golden delights right in your kitchen.
Introduction
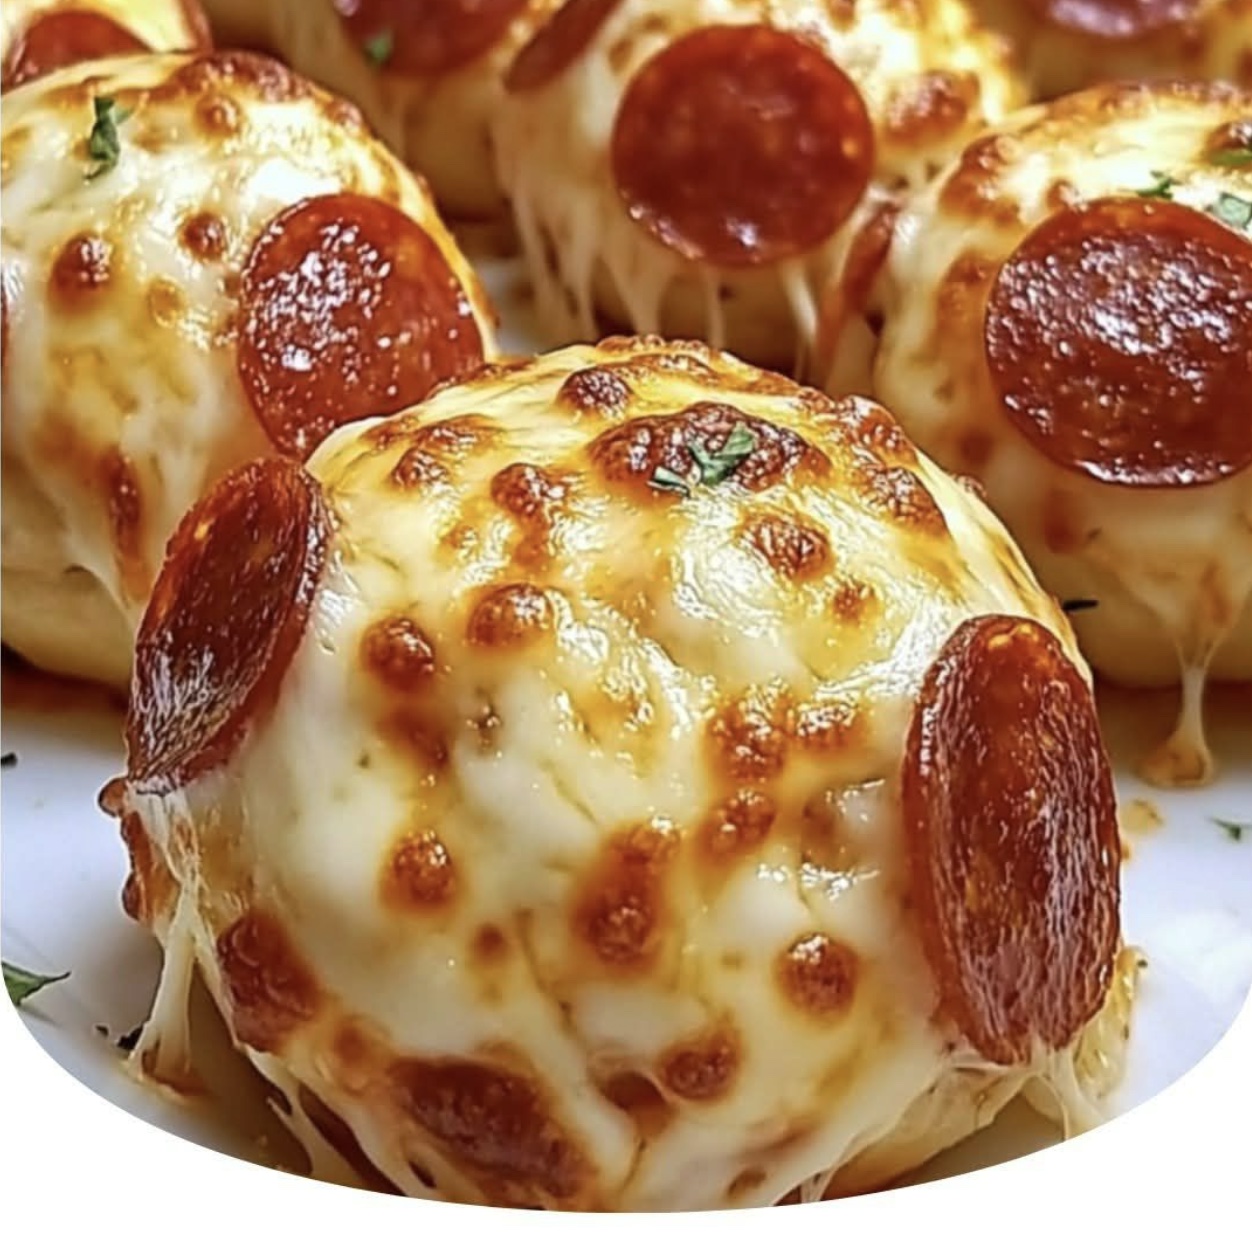
There’s something magical about bite-sized, cheesy treats. These Pepperoni Pizza Bombs are like mini pizzas wrapped in a golden biscuit dough crust. With just a few simple ingredients and less than 30 minutes of your time, you can create a snack that’s sure to impress. What makes this recipe stand out is its versatility—feel free to customize the fillings to suit your taste. Whether you’re hosting a gathering or need an easy dinner idea, these pizza bombs have got you covered.
Ingredients
To prepare Pepperoni Pizza Bombs, gather the following ingredients:
Essential Ingredients
- 2 tbsp melted butter
- 1 tsp garlic powder
- 1 tsp Italian seasoning
- 1 can (8 oz) refrigerated biscuit dough
- 3/4 cup shredded mozzarella cheese
- 1/2 cup mini pepperoni slices
Optional Add-Ins
- Marinara or pizza sauce
- Crushed red pepper flakes
- Chopped black olives, mushrooms, or green peppers
These ingredients are perfect for creating a classic pepperoni flavor or experimenting with new combinations.
How to Make Pepperoni Pizza Bombs
Follow these step-by-step instructions to create your own delicious Pepperoni Pizza Bombs:
1. Preheat the Oven Preheat your oven to 375°F (190°C). Line a baking sheet with parchment paper or lightly grease it with cooking spray.
2. Prepare the Butter Topping In a small bowl, mix the melted butter, garlic powder, and Italian seasoning. Set aside for brushing later.
3. Prepare the Dough Separate the biscuit dough into individual pieces. Flatten each biscuit into a 4-inch circle using your hands or a rolling pin. Place a small handful of shredded mozzarella cheese (about 1 tablespoon) and mini pepperoni slices in the center of each dough circle. For added flavor, consider placing a dollop of marinara or a sprinkle of red pepper flakes inside the filling.
4. Seal the Pizza Bombs Carefully fold the edges of the dough up and around the filling, pinching it tightly at the top to seal. Roll the dough into a smooth ball, ensuring no gaps or openings that might allow the cheese to leak out.
5. Arrange and Brush Place the dough balls seam-side down on the prepared baking sheet. Brush the tops generously with the prepared butter mixture to give them flavor and help them brown beautifully.
6. Bake Bake in the preheated oven for 12–15 minutes, or until the dough is golden brown and cooked through. Keep an eye on them to prevent overbaking.
7. Serve Remove the pizza bombs from the oven and let them cool for a few minutes. Serve warm with a side of marinara or pizza sauce for dipping.
Helpful Tips
- Use a Rolling Pin: Flatten the biscuit dough evenly for consistent results.
- Sealing is Key: Ensure the dough is tightly sealed to prevent the cheese from oozing out during baking.
- Customize Your Fillings: Experiment with your favorite pizza toppings, such as cooked sausage, diced vegetables, or even pineapple chunks.
- Make it Spicy: Add a pinch of crushed red pepper flakes to the filling for a spicy kick.
Cooking Tips
To elevate your Pepperoni Pizza Bombs, consider these additional tips:
- Cheese Choices: Try mixing mozzarella with provolone or Parmesan for a richer flavor profile.
- Golden Finish: For an extra golden crust, lightly broil the pizza bombs for 1-2 minutes after baking.
- Freezer-Friendly: Assemble the pizza bombs ahead of time and freeze them. Bake straight from frozen, adding a few extra minutes to the cooking time.
Serving Suggestions
Serve these Pepperoni Pizza Bombs as a snack or appetizer with marinara sauce for dipping. Pair them with a crisp salad or roasted vegetables for a complete meal. For a fun party platter, mix them with other finger foods like mozzarella sticks, mini meatballs, or garlic knots.
Nutritional Information
Here’s a breakdown of the nutritional content for Pepperoni Pizza Bombs (per serving):
- Calories: 180
- Carbohydrates: 14g
- Protein: 6g
- Fat: 10g
- Saturated Fat: 5g
- Polyunsaturated Fat: 1g
- Monounsaturated Fat: 2g
- Trans Fat: 0g
- Cholesterol: 25mg
- Sodium: 300mg
- Potassium: 80mg
- Fiber: 1g
- Sugar: 2g
- Vitamin A: 6%
- Vitamin C: 0%
- Calcium: 8%
- Iron: 4%
These pizza bombs are a satisfying treat, offering a balance of carbs, protein, and fats.
Storage and Leftovers
Refrigerate: Store leftover pizza bombs in an airtight container in the refrigerator for up to 3 days.
Reheat: Reheat them in a preheated oven at 350°F for 5-7 minutes to maintain their crispness. Alternatively, use an air fryer for quick reheating.
Freezing: To freeze, place the cooled pizza bombs on a baking sheet and freeze until solid. Transfer them to a freezer-safe bag or container. Reheat directly from frozen at 375°F for 10-12 minutes.
Frequently Asked Questions (FAQs)
Can I use homemade dough instead of biscuit dough? Absolutely! Homemade pizza dough works wonderfully for this recipe. Just roll it out and cut it into small circles.
What other cheeses can I use? While mozzarella is classic, you can try cheddar, provolone, or a mix of your favorites for a unique twist.
Can I make these ahead of time? Yes, you can assemble the pizza bombs a day ahead and store them in the refrigerator until ready to bake.
Related Recipes
Here are some delicious recipes you might also enjoy:
- Teriyaki Salmon Bowls with Crispy Brussels Sprouts Recipe
- Crispy Fish Batter Recipe
- Copycat Olive Garden Chicken Gnocchi Soup Recipe
- Oyster Stew: A Classic Comfort Dish
Conclusion
There you have it—easy and delicious Pepperoni Pizza Bombs that will impress your family and friends! With their gooey cheese, savory pepperoni, and golden crust, these pizza bombs are sure to become a favorite snack or appetizer. Try them out today, and don’t forget to experiment with your favorite fillings. Happy cooking!