Why You Will Love This Recipe
Imagine the joy of baking fresh bread at home without the need for fancy equipment or a lengthy cleanup. This Bread in a Bag recipe is perfect for anyone who wants to experience the magic of homemade bread with minimal fuss. It’s a fun and interactive way to introduce baking to kids or to simply enjoy a quick and satisfying baking project. The process is simple, the ingredients are straightforward, and the result is a warm, delicious loaf that fills your home with the comforting aroma of freshly baked bread.
What makes this recipe truly special is its accessibility. Whether you’re a seasoned baker or a complete novice, you’ll find that making bread in a bag is a delightful and rewarding experience. The tactile nature of mixing and kneading the dough right in the bag adds an element of fun and ease, making it a perfect activity for a cozy afternoon at home. Plus, there’s something incredibly satisfying about slicing into a loaf that you made from scratch, knowing exactly what went into it.
Ingredients
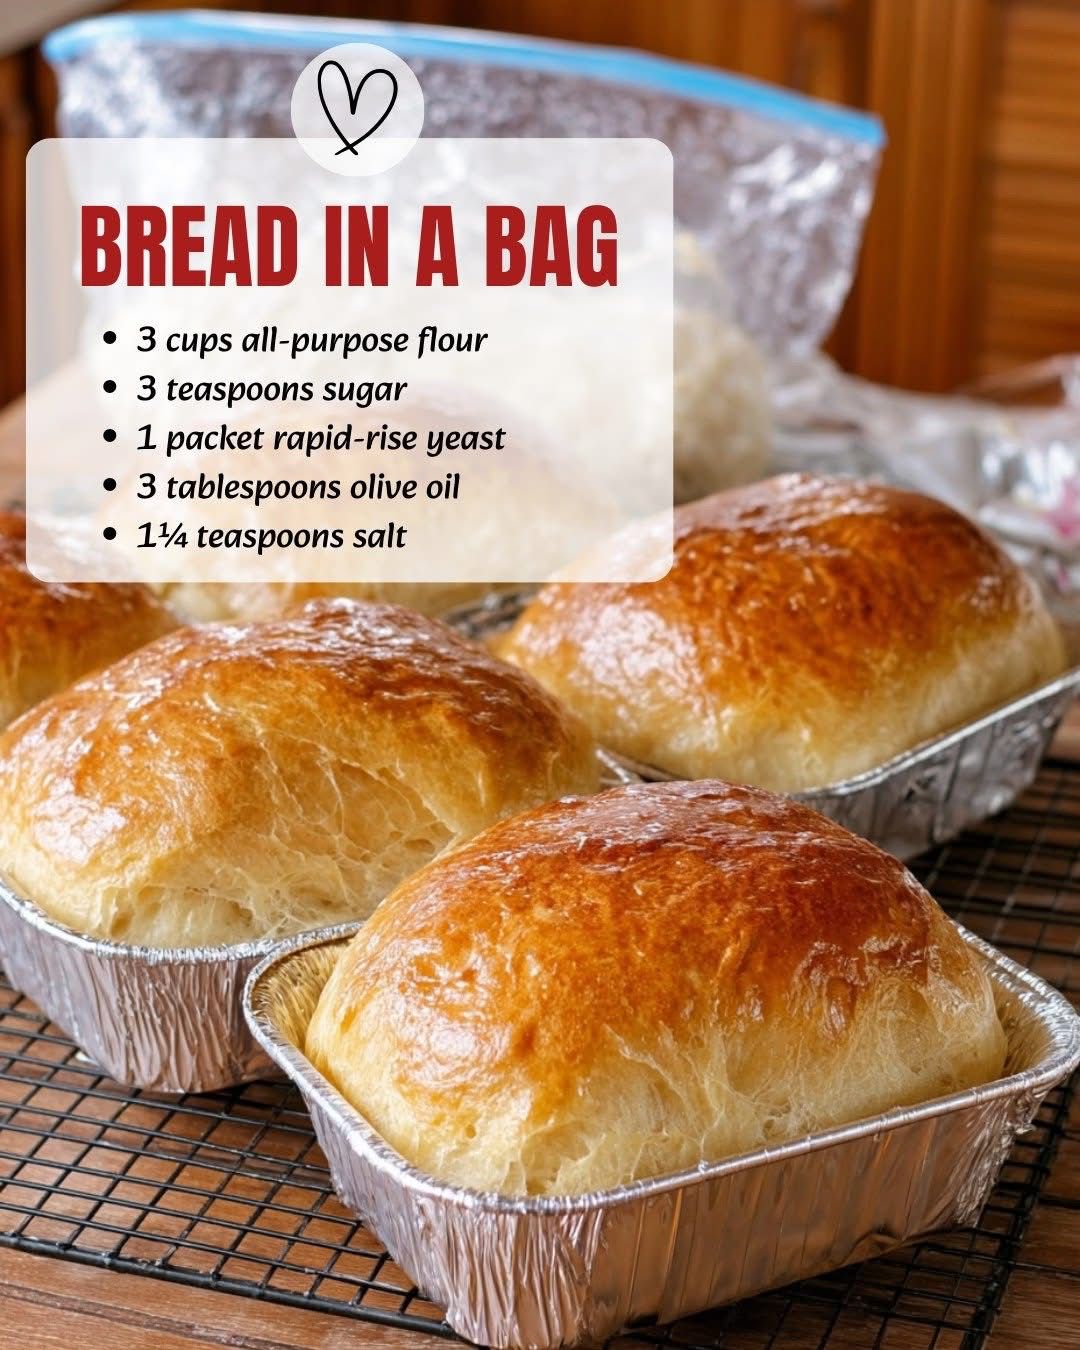
- 3 cups all-purpose flour
- 3 tablespoons white sugar
- 1 packet (2 1/4 teaspoons) rapid rise yeast
- 1 cup warm water (110°F/45°C)
- 3 tablespoons olive oil
- 1 1/2 teaspoons salt
- Extra flour for dusting
Step by Step Instructions
- Prepare the Bag: Start by taking a large, sturdy zip-top bag. This will be your mixing bowl and kneading surface all in one. Add the flour, sugar, and yeast to the bag. Seal the bag and shake it to mix the dry ingredients thoroughly.
- Add Wet Ingredients: Carefully pour the warm water and olive oil into the bag. Seal the bag again, leaving some air inside, and begin to knead the mixture by pressing and squeezing the bag with your hands. This helps to combine the ingredients without making a mess.
- Incorporate the Salt: Open the bag and add the salt. Seal it again and continue kneading until the dough starts to come together and is smooth and elastic. This should take about 5 to 10 minutes.
- First Rise: Leave the dough in the bag, sealing it with some air inside, and place it in a warm spot. Allow it to rise until doubled in size, approximately 30 minutes.
- Shape the Dough: Once risen, open the bag and sprinkle a little flour on a clean surface. Transfer the dough out of the bag onto the floured surface. Gently shape it into a loaf or your desired shape.
- Second Rise: Place the shaped dough on a parchment-lined baking sheet. Cover it with a clean towel and let it rise again for about 15 minutes.
- Bake the Bread: Preheat your oven to 375°F (190°C). Once the dough has risen, bake it in the preheated oven for 25-30 minutes or until the bread is golden brown and sounds hollow when tapped on the bottom.
- Cool and Enjoy: Remove the bread from the oven and let it cool on a wire rack before slicing. Enjoy your homemade bread warm with butter or your favorite spread.
You Must Know
Baking bread in a bag is not only a convenient method but also a great way to reduce cleanup time. By mixing and kneading in the bag, you eliminate the need for multiple bowls and surfaces, making it an ideal choice for small kitchens or when you want a quick baking session without the mess. The key to success is ensuring your yeast is fresh and your water is the right temperature to activate the yeast effectively.
It’s important to note that the dough will be slightly sticky, which is normal. This stickiness helps create a moist crumb in the finished loaf. Don’t be tempted to add too much extra flour during kneading, as this can lead to a denser bread. If the dough feels too sticky to handle, a light dusting of flour on your hands and the surface should suffice.
Storage Tips
Once your bread has cooled completely, store it in a bread box or a paper bag to maintain its crusty exterior. If you prefer a softer crust, you can store it in a plastic bag. Homemade bread is best consumed within a couple of days, but if you find yourself with leftovers, consider slicing and freezing the bread. Wrap individual slices in plastic wrap and place them in a freezer-safe bag. This way, you can easily thaw and enjoy a slice whenever you crave homemade goodness.
For the best flavor and texture, avoid refrigerating the bread, as this can cause it to dry out and lose its delightful chewiness. If you do freeze the bread, simply reheat it in the oven or toaster for a few minutes to restore its fresh-baked taste.
Ingredient Substitutions
If you’re looking to make some changes to suit dietary preferences or ingredient availability, there are several substitutions you can consider. For a richer flavor, substitute some or all of the all-purpose flour with whole wheat flour. Keep in mind that whole wheat flour will result in a denser loaf, so you may need to add a bit more water to achieve the right dough consistency.
For those avoiding sugar, you can use honey or agave syrup as a natural sweetener. Olive oil can be replaced with melted butter or coconut oil for a different flavor profile. If you’re out of rapid rise yeast, active dry yeast can be used, but be sure to activate it in the warm water with a pinch of sugar before adding it to the dry ingredients.
Serving Suggestions
This versatile bread pairs beautifully with a variety of dishes. Serve it warm with a pat of butter for a simple yet satisfying treat. It’s also perfect for sandwiches, offering a hearty base for your favorite fillings. Try it toasted with avocado and a sprinkle of salt for a delicious breakfast option.
For a more indulgent experience, consider using this bread as the foundation for a decadent bread pudding or French toast. Its texture holds up well to soaking, making it an excellent choice for these dishes. Additionally, a slice of this bread alongside a bowl of soup or stew can turn a simple meal into a comforting feast.
Cultural Context
Bread has been a staple in many cultures for centuries, symbolizing sustenance and community. The simplicity and versatility of bread have made it a beloved food across the globe, with each culture adding its unique twist to the basic recipe. Bread in a Bag is a modern take on this ancient tradition, offering a convenient way to enjoy homemade bread without the need for traditional baking tools.
This method reflects a shift towards more accessible and inclusive cooking practices, inviting everyone to partake in the joy of baking, regardless of their skill level or kitchen setup. It embodies the spirit of innovation while honoring the timeless appeal of freshly baked bread, bringing people together in the shared experience of creating something delicious from scratch.
Pro Tips
For the best results, ensure your ingredients are at the right temperature. The water should be warm, not hot, to activate the yeast without killing it. If you’re unsure, use a kitchen thermometer to check the temperature. Additionally, let the dough rise in a warm, draft-free area to encourage proper fermentation.
When shaping the dough, handle it gently to retain the air bubbles that contribute to a light and airy texture. If you prefer a crustier loaf, consider placing a small dish of water in the oven while baking to create steam, which enhances the crust’s texture. Finally, allow the bread to cool completely before slicing to ensure clean cuts and to maintain its structure.
Recipe FAQs
Can I use gluten-free flour for this recipe? Yes, you can substitute gluten-free flour, but the texture may differ. Consider using a gluten-free flour blend specifically designed for bread baking for the best results.
What if my dough doesn’t rise? If your dough doesn’t rise, it could be due to inactive yeast or incorrect water temperature. Ensure your yeast is fresh and that the water is warm enough to activate it. Try placing the dough in a warmer spot to encourage rising.
Can I add herbs or spices to the dough? Absolutely! Adding herbs like rosemary or spices such as cinnamon can enhance the flavor of your bread. Mix them into the dry ingredients before adding the wet components.